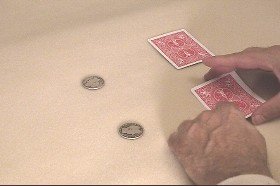
| is not picked up. Next the cards are held above the coin at the lower right position. |
| The stack is dropped all the way to the table so the tape comes near the coin there. |
| The left finger presses on top of the card to again slide one off but presses down with |
some strength to press the tape against the coin.  The two bottom cards of the The two bottom cards of the |
| stack thus pick up the coin when they are moved to the right as the top card is slid onto |
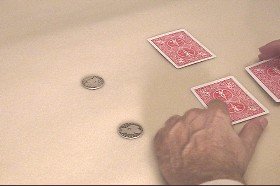
| the table covering the spot where the coin was resting. This picture shows the |
| underside of the cards revealing the coin stuck to the cards. The stack is |
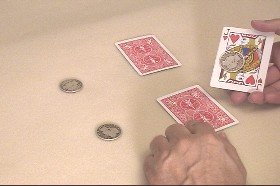
| moved to the lower left position where a card is slid onto the table as before. Finally |
| the card carrying the coin is placed over the coin at the upper left position. Note that |
| this order of placement differs from what has gone before. When the card at the upper |
| left position is raised, the coin can be released by pressing down on the card |
| immediately above an edge of the coin that is not covered by tape. Then the thumb can |
| raise the edge of the card. Because the pressure of the fingers against the |
| tabletop holds the coin, the card being raised will break the hold of the tape so the card |
| can be raised away from the coin on the table. All of this occurs as the audience |
| observes that you are simply picking up the card to reveal what is underneath. |
| Here is one last small note about using the tape. The stick force of the tape is quite |
| strong. In using the tape in this routine you may wish to undo a bit of its force by |
|
|     |